First of all, I want to give a huge thank you to City Farmhouse for sharing my blog with her Facebook fans! I feel honored to be complimented by someone who has such an amazingly swoon-worthy home! This lucky lady has a view of the bay from her dining room windows.
Staycation. Forever.
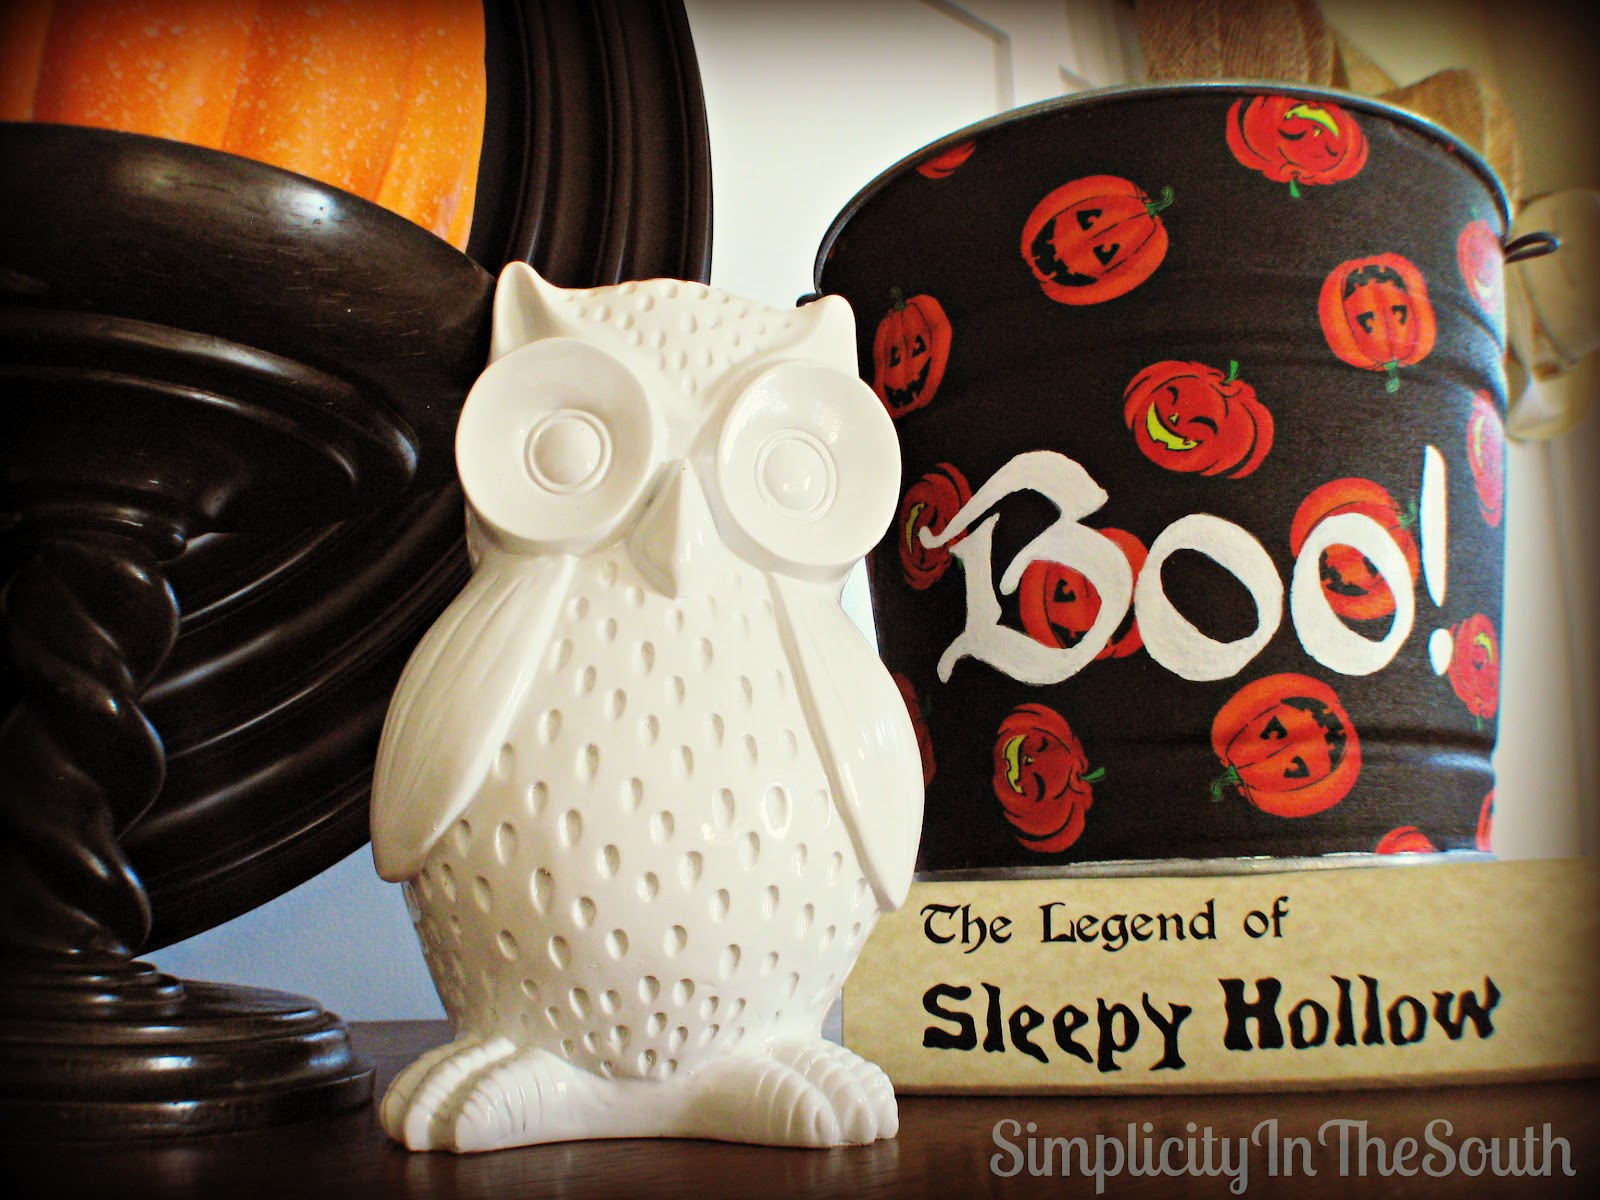
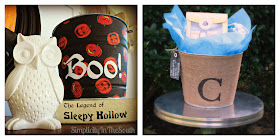
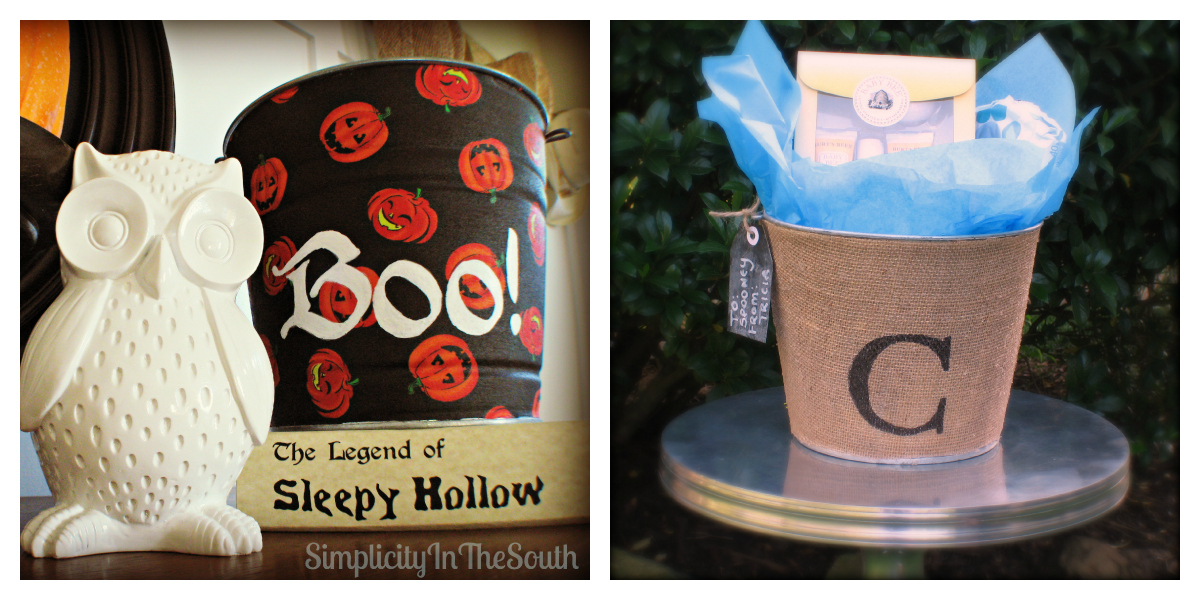
Can you believe that the stores are already stocking Halloween decorations? I usually procrastinate on decorating for the holidays, but this week, I figured, "Heck, why not?". I pulled out my Halloween decorations along with the decoupaged galvanized pail I made a while back.
You see, about four years ago
I had this dream that I would open an Etsy shop selling galvanized pails that are decoupaged with fabric after seeing some in a gift shop. Since I couldn't find any tutorials on how to make them, I just had to figure out how to make them myself. At the time, decoupaged pails were a fairly new item on Etsy and there were only a handful of stores were selling them. And then...life got even busier so I put my dream on hold. Any regrets? Not a bit! I knew I wouldn't have the time and energy to invest in a business on the side. Besides, I would hate to sell something that is not "just right". I have the I-want-it-now-and-I-don't-care-if-it's-not-perfect syndrome when it comes to crafts.
Brodder's Tubs has been selling their pails on Etsy since 2008.

 .
.


Staycation. Forever.
Can you believe that the stores are already stocking Halloween decorations? I usually procrastinate on decorating for the holidays, but this week, I figured, "Heck, why not?". I pulled out my Halloween decorations along with the decoupaged galvanized pail I made a while back.
You see, about four years ago
I had this dream that I would open an Etsy shop selling galvanized pails that are decoupaged with fabric after seeing some in a gift shop. Since I couldn't find any tutorials on how to make them, I just had to figure out how to make them myself. At the time, decoupaged pails were a fairly new item on Etsy and there were only a handful of stores were selling them. And then...life got even busier so I put my dream on hold. Any regrets? Not a bit! I knew I wouldn't have the time and energy to invest in a business on the side. Besides, I would hate to sell something that is not "just right". I have the I-want-it-now-and-I-don't-care-if-it's-not-perfect syndrome when it comes to crafts.
Brodder's Tubs has been selling their pails on Etsy since 2008.
I would love to have this chevron one to use as a beverage tub.
| Brodder's Tubs on Etsy |
And isn't this just adorable?
 |
| Brodder's Tubs on Etsy |
I've made a few for our home because you can store all sorts of things in them besides frosty beverages and cute babies.
Here's one that we keep in the boy's bathroom to hold towels.

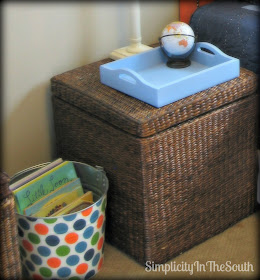
And this one that stores books between the boys' beds

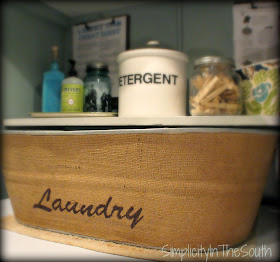
If you saw my laundry room reveal last week, then you may have seen the burlap laundry bin.

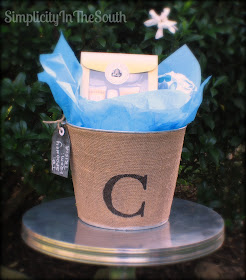
Here's the one I made this week for my friend's baby shower gift. She is naming him Charlie. Sweet!

Since there are so many different fabrics to choose from, the possibilities are endless. These would make creative gift baskets for teachers, Easter baskets, or toy storage in a playroom.
Since it is still difficult to find a tutorial on how to decoupage a galvanized pail, I'll share with you how to do it.
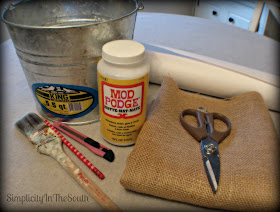
You will need the following supplies:

- A galvanized pail. I found this 5.5 quart pail at Tractor supply, but I've seen them in the paint section of the home improvement stores. There is also an online store, Galvanizedpail.com.
- Fabric of your choice. This project used 1/4 yard of burlap. I HIGHLY recommend using a thinner fabric for your first project, such as quilting fabric. Burlap is difficult to cut and soaks up a lot of the Mod Podge. As you get used to making these, you can move on to thicker fabrics. (You will need to iron the wrinkles out of the thinner fabric.) Learn from my mistake and do not try to use outdoor fabric. Even after washing it, it still does not want to stick very well. **Update: I found that if I wash the burlap in the washing machine first, it softens it up and makes it easier to work with.**
- Mod Podge. I just found out that they make outdoor Mod Podge!
- A roll of paper for tracing (I used freezer paper), scissors, paint brush, and a razor
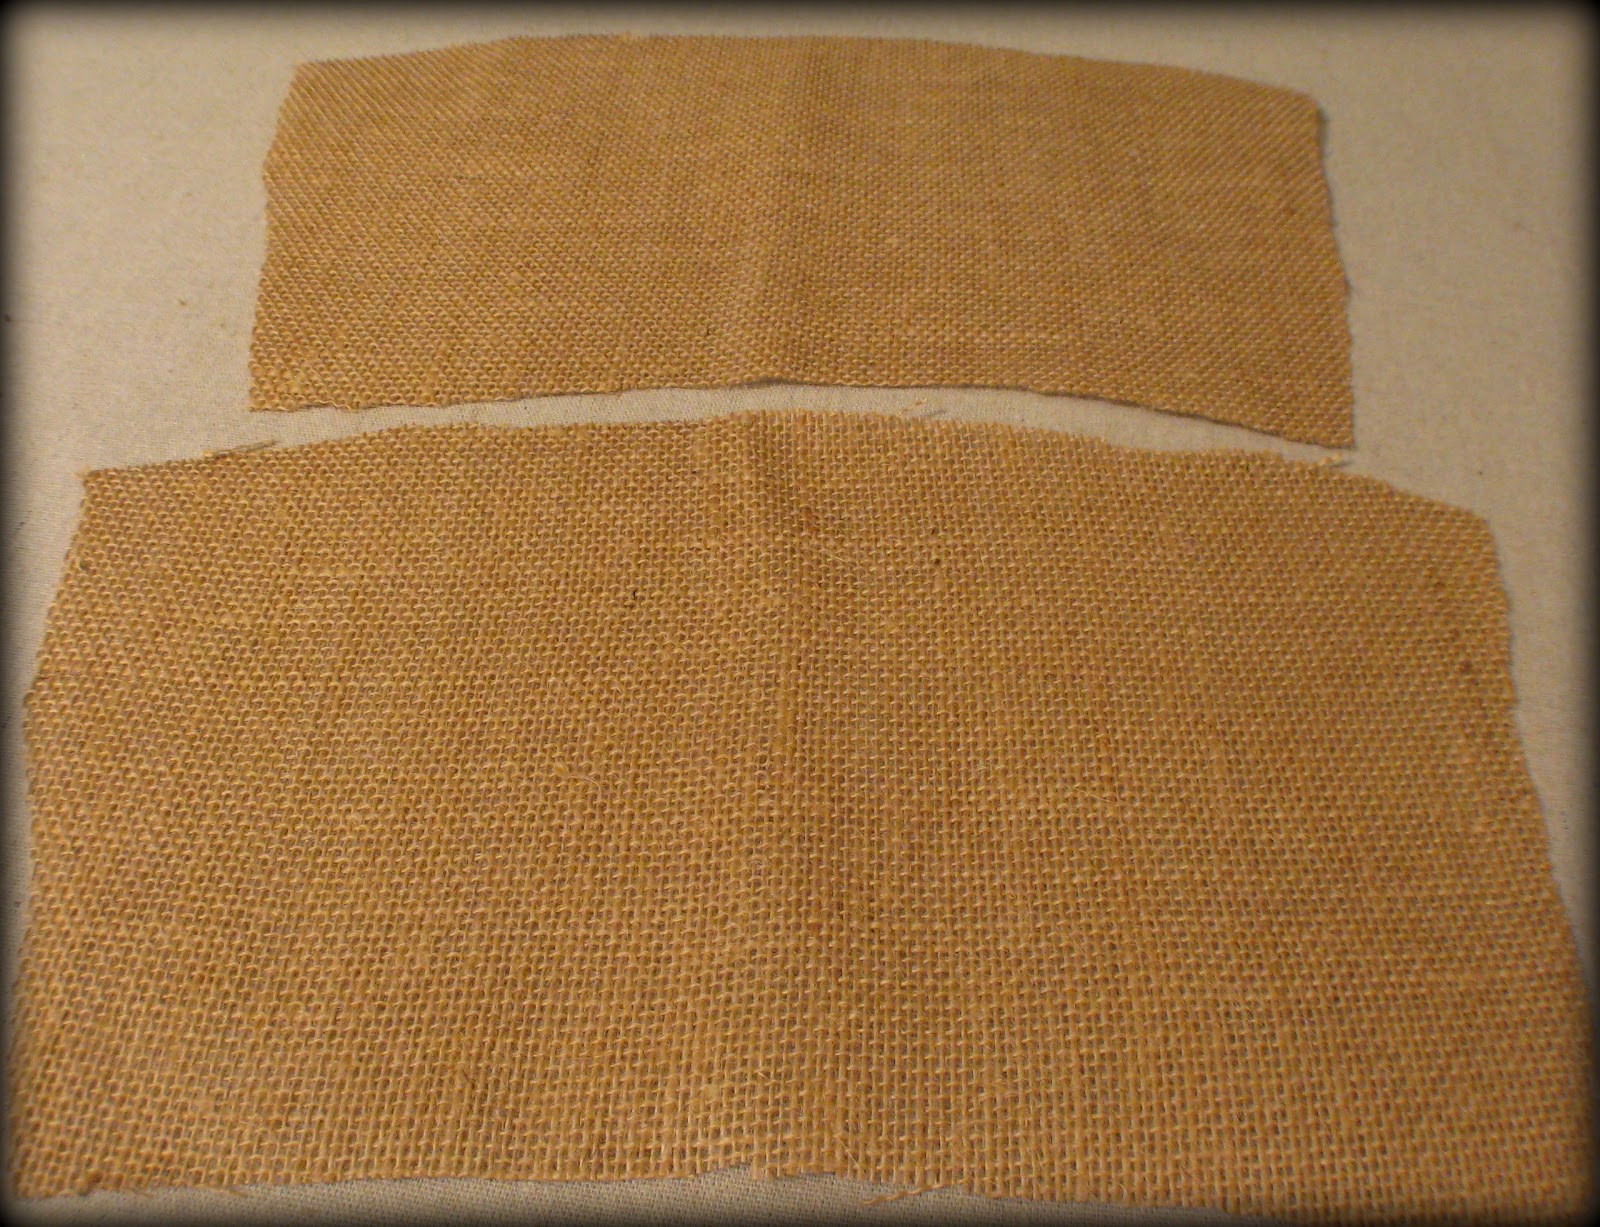
Trace half of your pail's shape as you roll it over the paper. Yes, I'm a lefty. And it's true...lefties are creative. :)

You will end up with a slightly curved rectangle.

Trace this shape onto your fabric, slightly larger than your template so you'll have room for error. You'll do this twice since you are cutting out both halves of the pail.
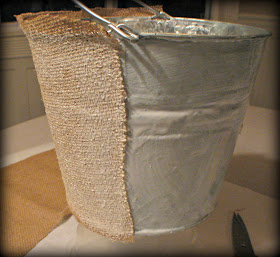
Coat one half of your pail with a thick coat of the Mod Podge.

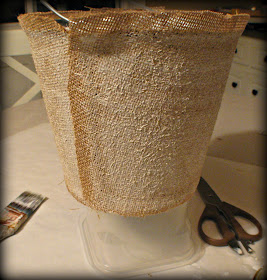
Lay one of your fabric pieces on top. Start coating the fabric with more Mod Podge. The paint brush will help smooth any wrinkles out. Also use your brush to help push the fabric into the horizontal grooves of the pail.
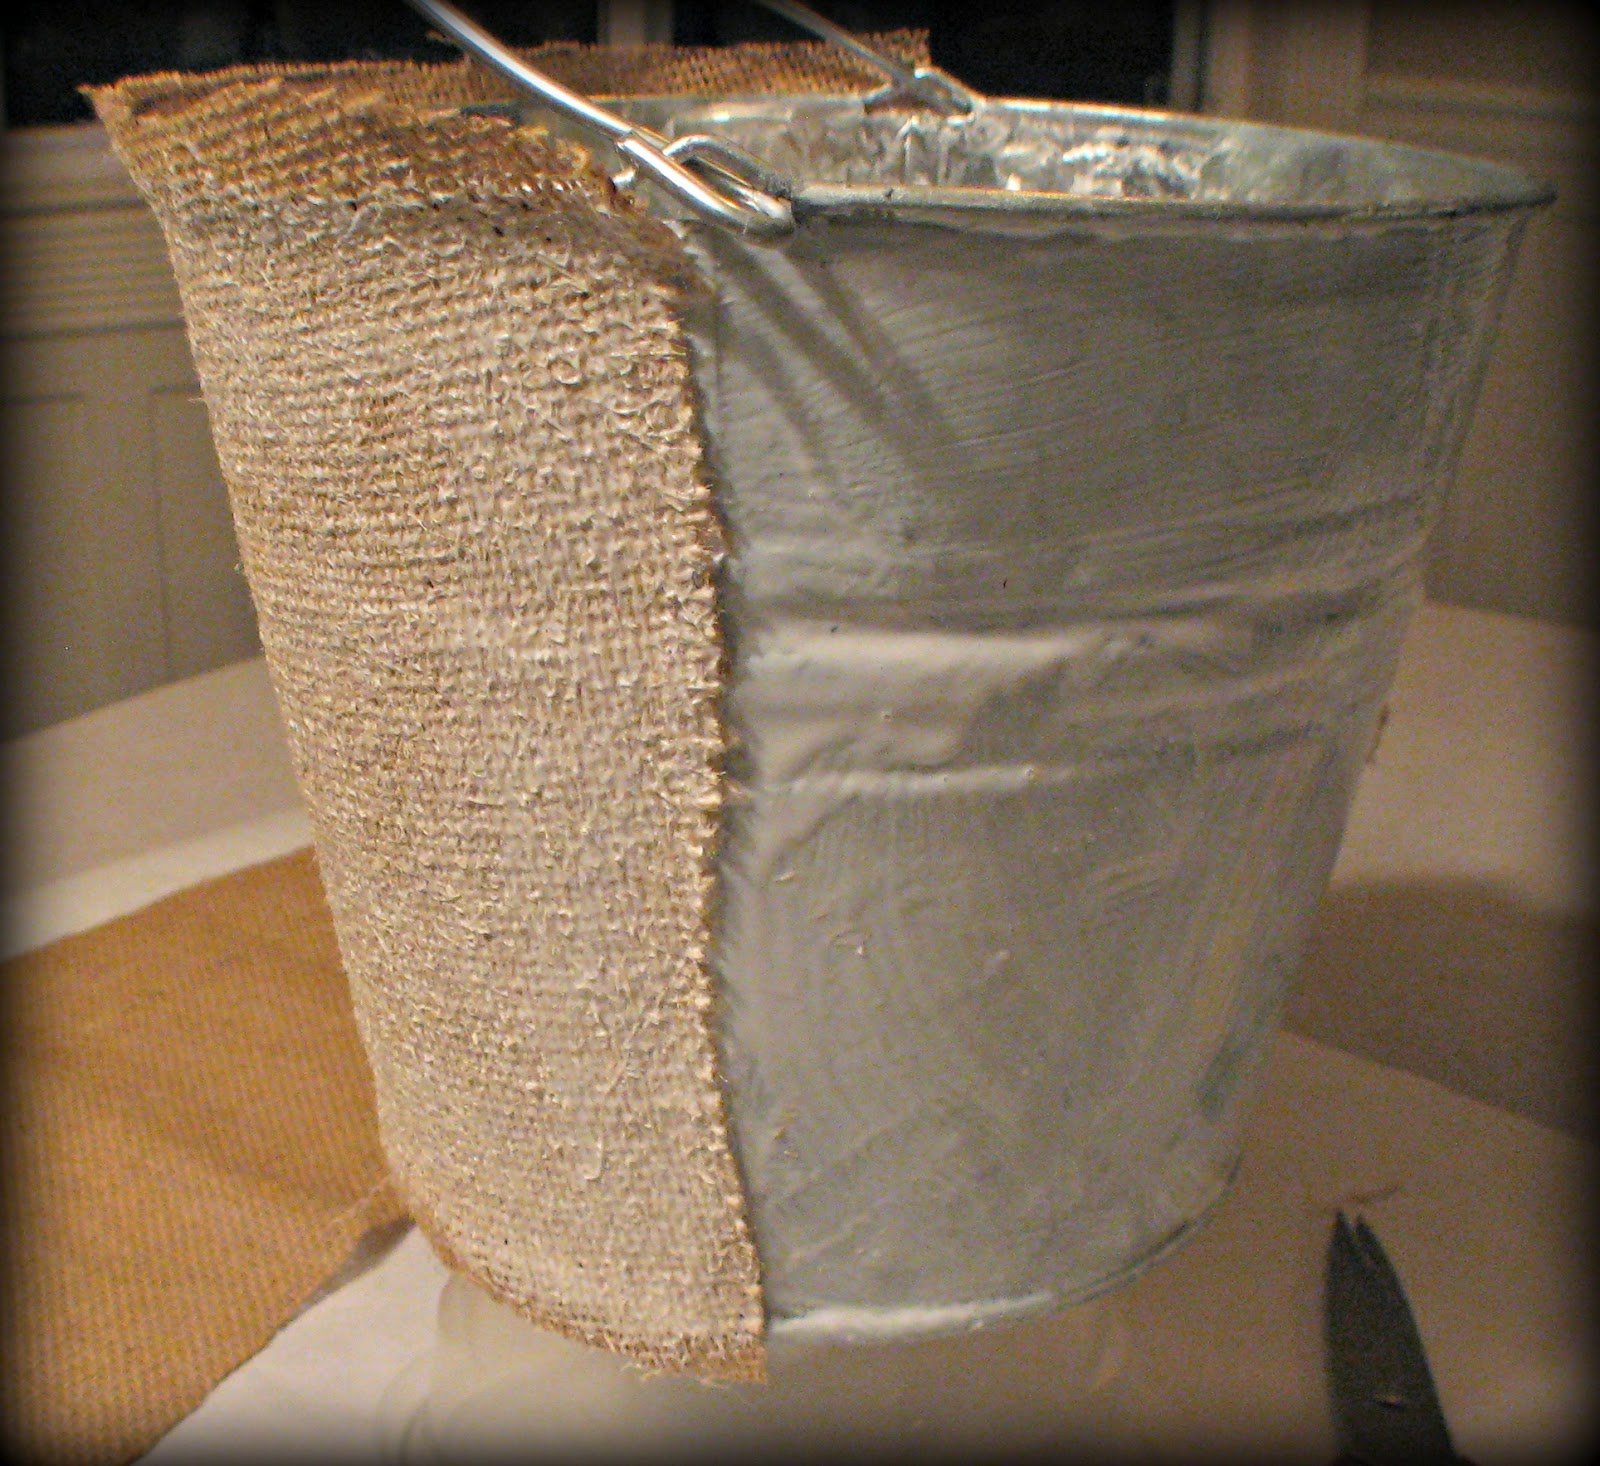
Once you get the first half on, trim up any excess that doesn't line up with the vertical seams on the sides of the pail. Repeat for the other side.
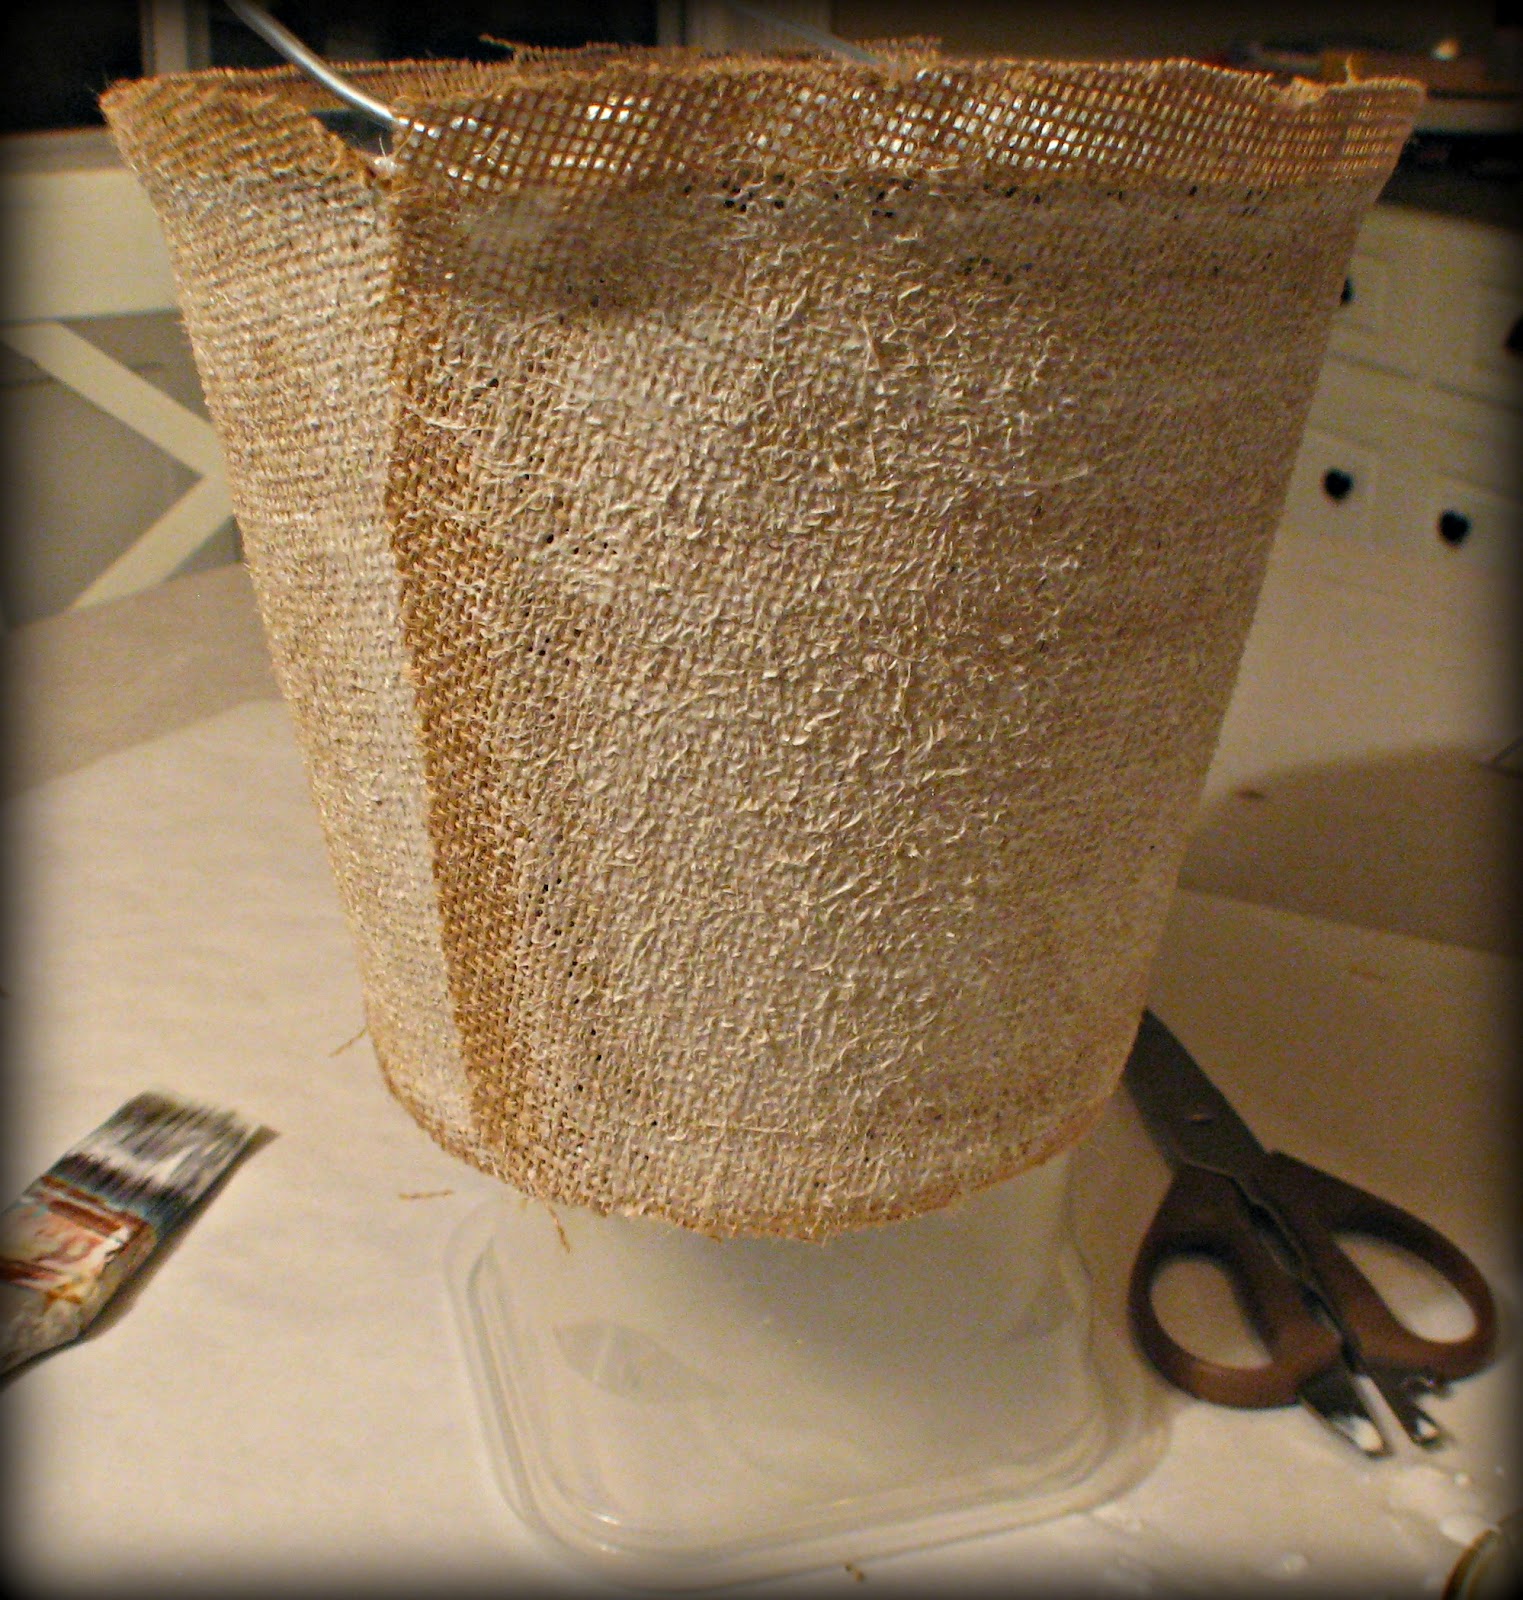
Let this dry overnight. I've also been know to use a hair dryer. Did I mention that I was impatient? The Mod Podge will be clear once it dries. You can then use your razor to trim the excess. Tip: It helps to first run the edge of a spoon along the top and bottom edges of the pail before you cut the fabric. It will help guide your razor when you make your cuts.

If I had a Cricut, it would be a lot easier to monogram the pails. Since I don't, I have to print out the font I want to use, transfer it to the pail with tracing paper, and then fill it in with craft paint or permanent marker. If you have a Cricut, I envy you. Please feel free to ask me any questions in case I've left anything out!
This was linked up to :
Hey Tricia, thanks so much for the shout out today:)It is very nice of you! I am so not ready for fall decortaing, love your pail, adoreable!Jen
ReplyDeleteLove this idea. So fun and festive for Halloween and the fall season. I hope you will come by and link up to my Wickedly Creative Halloween Ideas Party.
ReplyDeletehttp://www.itsybitsypaperblog.com/2012/09/2012-wickedly-creative-halloween-ideas.html
Thanks for the invite! Glad you found me!
DeleteThis is such a fun idea! So cute! I'm following you back!
ReplyDeleteI love this idea, Tricia--it's so pretty, and you made it look so easy! Thank you for sharing the details of how to do it all.
ReplyDeleteLove the bucket project! I am definitely going to try this. I'm excited to have found a blogger who lives so close to me. I'm your newest follower.
ReplyDeleteI love the painted ones especially the dots and the chevron patterns! Awesome!
ReplyDelete