
I present to you Extreme Makeover, The Hand-Me-Down-Furniture Edition. Back in the day, I once wished for a brand new, modern bedroom furniture set...like the ones you see in the Sunday paper ads. Our bedroom set consists of a set of nightstands and a dresser that was given to us by two different relatives but from the same era, the 1950's. I'm so glad I came to my senses and realized what a little gem I had. Little did I know that I would fall in love with all things vintage.
 |
| Source |
Our bedroom set was once a mismatched set. The nightstands were yellow, trimmed with gold detail and the dresser was avocado green. I don't have any pictures of the set when we first inherited it. That was before I knew what a blog was.
This is the dresser from my master bedroom in progress post.
Back in 2006, I painstakingly painted the set black and added new hardware. I made the mistake of not protecting my paint with a coat of polyurethane, so after years of setting glasses of water on the nightstands, the veneer underneath had gotten warped. Instead of trying to repair the damaged veneer, I decided to cover it with mirror.
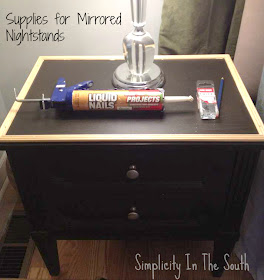
The supplies I used were:

In retrospect, I wish I had used flat trim instead of the fluted trim. It would have been easier to fill the nail holes and it would have collected less dust. Live and learn (from my mistakes).
This is the dresser from my master bedroom in progress post.

Back in 2006, I painstakingly painted the set black and added new hardware. I made the mistake of not protecting my paint with a coat of polyurethane, so after years of setting glasses of water on the nightstands, the veneer underneath had gotten warped. Instead of trying to repair the damaged veneer, I decided to cover it with mirror.
The supplies I used were:
1. 1/2" trim molding
2. Liquid Nails
3. Wood Filler
4. 5/8" Wire Brad Nails
6. 1/8" mirror (you won't know these dimensions until the trim is added)
7. Other: sandpaper, hammer, miter saw box, primer, paint, nail countersinker
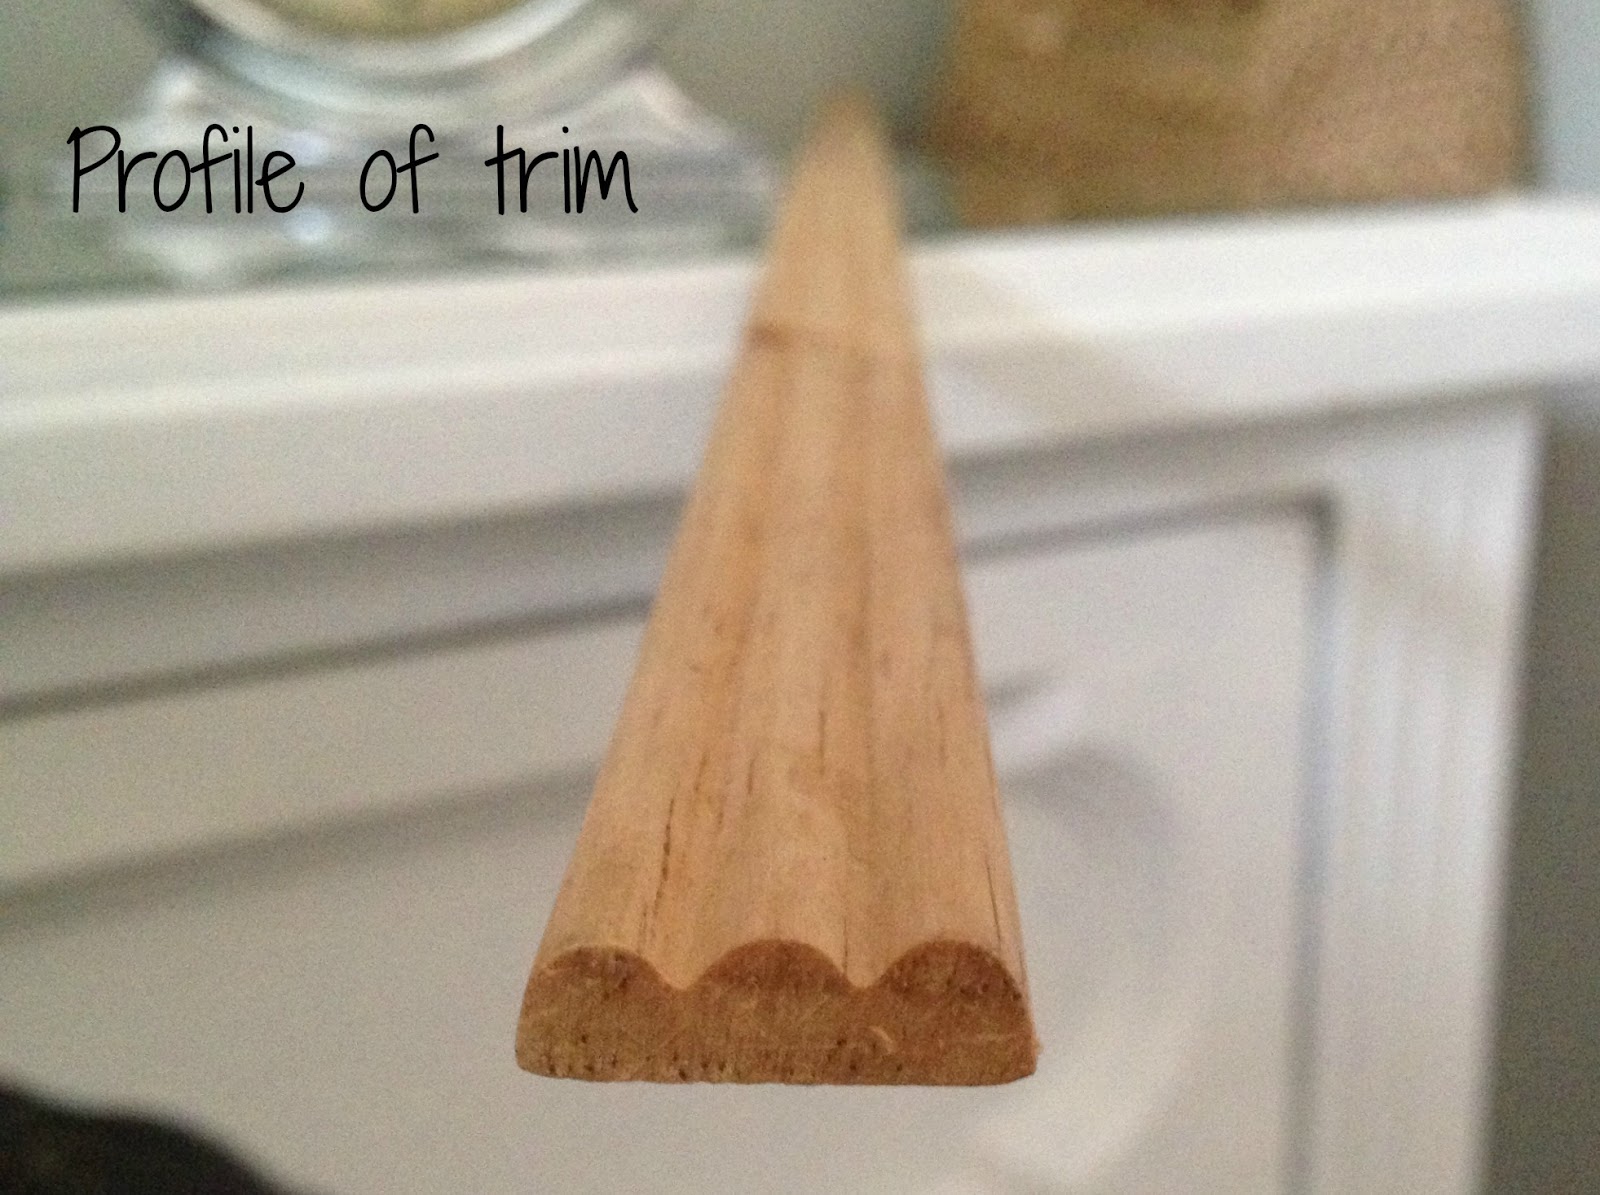
In retrospect, I wish I had used flat trim instead of the fluted trim. It would have been easier to fill the nail holes and it would have collected less dust. Live and learn (from my mistakes).
Steps to trim out the top of your furniture:
Cut the trim at 45 degree angles to frame out the top your nightstand with the miter box or chop saw. I pre-primed the underside of the trim before nailing it down just in case any water spills happen later on. Adhere the trim with a small amount of Liquid Nails (or wood glue) and the brad nails. Countersink the nails and fill with wood filler. Once the filler dries, sand, prime and paint the trim. Now that the trim is adhered, you have the dimensions for your mirror to be cut at either a local glass shop or home improvement store. You can also find mirror at places like Habitat for Humanity or Craigslist that can be cut down for you. Make sure the glass cutter sands down the sharp edges and supplies you with clear plastic furniture protectors to keep the mirror from sticking to your furniture.
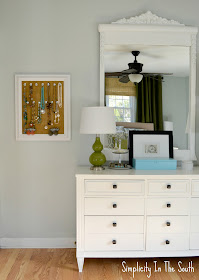
I've also painted the nightstands white, changed out the knobs to bin pulls and added caster wheels. The caster wheels were $3.25 each, but added a much needed two inches in height so they are more in proportion to the height of the bed.
The bin pulls were once on our kitchen drawers but I stripped the white paint off and repainted them with hammered dark bronze spray paint to match the dresser's knobs. The left over (unpainted) bin pulls found a home at the bottom of my jewelry holder.
 |
| Burlap and Crystal Framed Jewelry Holder Tutorial Thank goodness for generous relatives and for wishes that don't come true! |

I'm linking this up to some of my favorite blogs, such as:
Funky Junk Interiors
Tater Tots and Jello
Home Stories A to Z
Common Ground
Simply Designing
This looks simply gorgeous. The mirrored top pops so much! I love it.
ReplyDeleteIt is AMAZING! Wow! I have always wanted mirrored nightstands. This is an amazing project. It really is stunning!
ReplyDeleteLooking forward to your YHL party coming up soon!
DeleteI guess that's why I love the look of burlap made items.
ReplyDeleteThis is so pretty! The mirrored tops with the white are very classy and classic. Was the glass expensive if you don't mind me asking? I really need to jazz up my bedside tables to. They are awesome white butler tables from the $2 store of all places and I can just picture them with a glass top....covered in cat fluff no doubt. Have a great weekend
ReplyDeleteHey Sarah! I wish I could be that lucky to find tables at the $2 store! The mirrors were fee, but I called a glass shop and they quoted me $10 USD each. My parents have a glass shop and supplied mine. I thought about using the mirror we had taken down from our bathroom, but it wouldn't fit in my car. I'd love to see how your tables turn out! The cat fluff will just add character! :)
DeleteThis is absolutely fabulous! Our home is in a constant state of flux, needing updating all the time. I love how simple and easy this would be to transform my bedroom! Or guest room. Love it!
ReplyDeleteWhat a great idea. I am visiting from Cozy Little House.
ReplyDeleteJudy
Hi, Judy! Thanks for stopping by! I will go over and thank Cozy Little House!
DeleteVery pretty! What a transformation. I'm visiting from Cozy Little House and want to welcome you too. I'll send your blog address to my young daughter-in-law. They're just moving into a larger house with lots of empty space and are do-it-yourselfers. I know she'll get great ideas here.
ReplyDeleteLove the addition of the mirror. Adding mirrors to a piece of furniture on my someday-to-do-list.
ReplyDeleteI think your DIY nightstands look great! Isn't it amazing how we can look at an object for so long -- then we let an idea bloom. With some work & imagination (+planning) we get a beautiful result? I also love your framed jewelry board, & your dresser.
ReplyDeleteYou have accomplished some beautiful things with a practical budget & some of your time. The result is very, very beautiful. Greetings from the State of Idaho. Gloria
I love the mirrored top! Looks fantastic! And better than brand new!
ReplyDeletehttp://www.the-finishing-touches.net