
When you live in a home that is considered small according to US standards, you have to get creative with your storage and organization. One way to do that is to use baskets and bins wherever possible. And of course, you'll need to label these baskets or you'll drive yourself crazy trying to figure out where in the world you put something. Today, I'll show you how to make simple chalkboard tags that were inspired by this pin. I'm all about a simple and inexpensive DIY project that helps make my life easier. These are the same chalkboard tags that I have on my baskets in the laundry room. Did you get to see the reveal? If not, here's the link. The first time that I made chalkboard tags,
I used pieces of wood that I had to cut, drill holes in, sand, prime, and then paint with chalkboard paint. They were way too time consuming for my taste. This was before I realized that they sold chalkboard Contact Paper. Woo hoo! It comes in 6 foot lengths so there will be plenty left over to chalkboard more stuff to your hearts content...doors, sheet metal for memo boards, etc.
I used pieces of wood that I had to cut, drill holes in, sand, prime, and then paint with chalkboard paint. They were way too time consuming for my taste. This was before I realized that they sold chalkboard Contact Paper. Woo hoo! It comes in 6 foot lengths so there will be plenty left over to chalkboard more stuff to your hearts content...doors, sheet metal for memo boards, etc.
Wouldn't these make adorable centerpieces for a reception?

Chalkboard labels are so versatile because when you need to change out the writing, just erase it and start over. A chalkboard pen is a must have! I put a link below.

Here are the baskets that we keep in our master bathroom.

I've made a list of the supplies that you will need along with links if you can't find the items in the craft store:

- Chalkboard Contact Paper
- A file folder or cardstock paper (I just recycled an old file folder)
- A plastic card (That explains the Bruster's card.)
- The template for tracing your tag's shape
- A paper trimmer OR scissors (a paper trimmer = quicker + neater cuts)
- A hole puncher
- Hole reinforcement stickers
- A white chalk pen (These last soooo much longer than real chalk)
- Real chalk
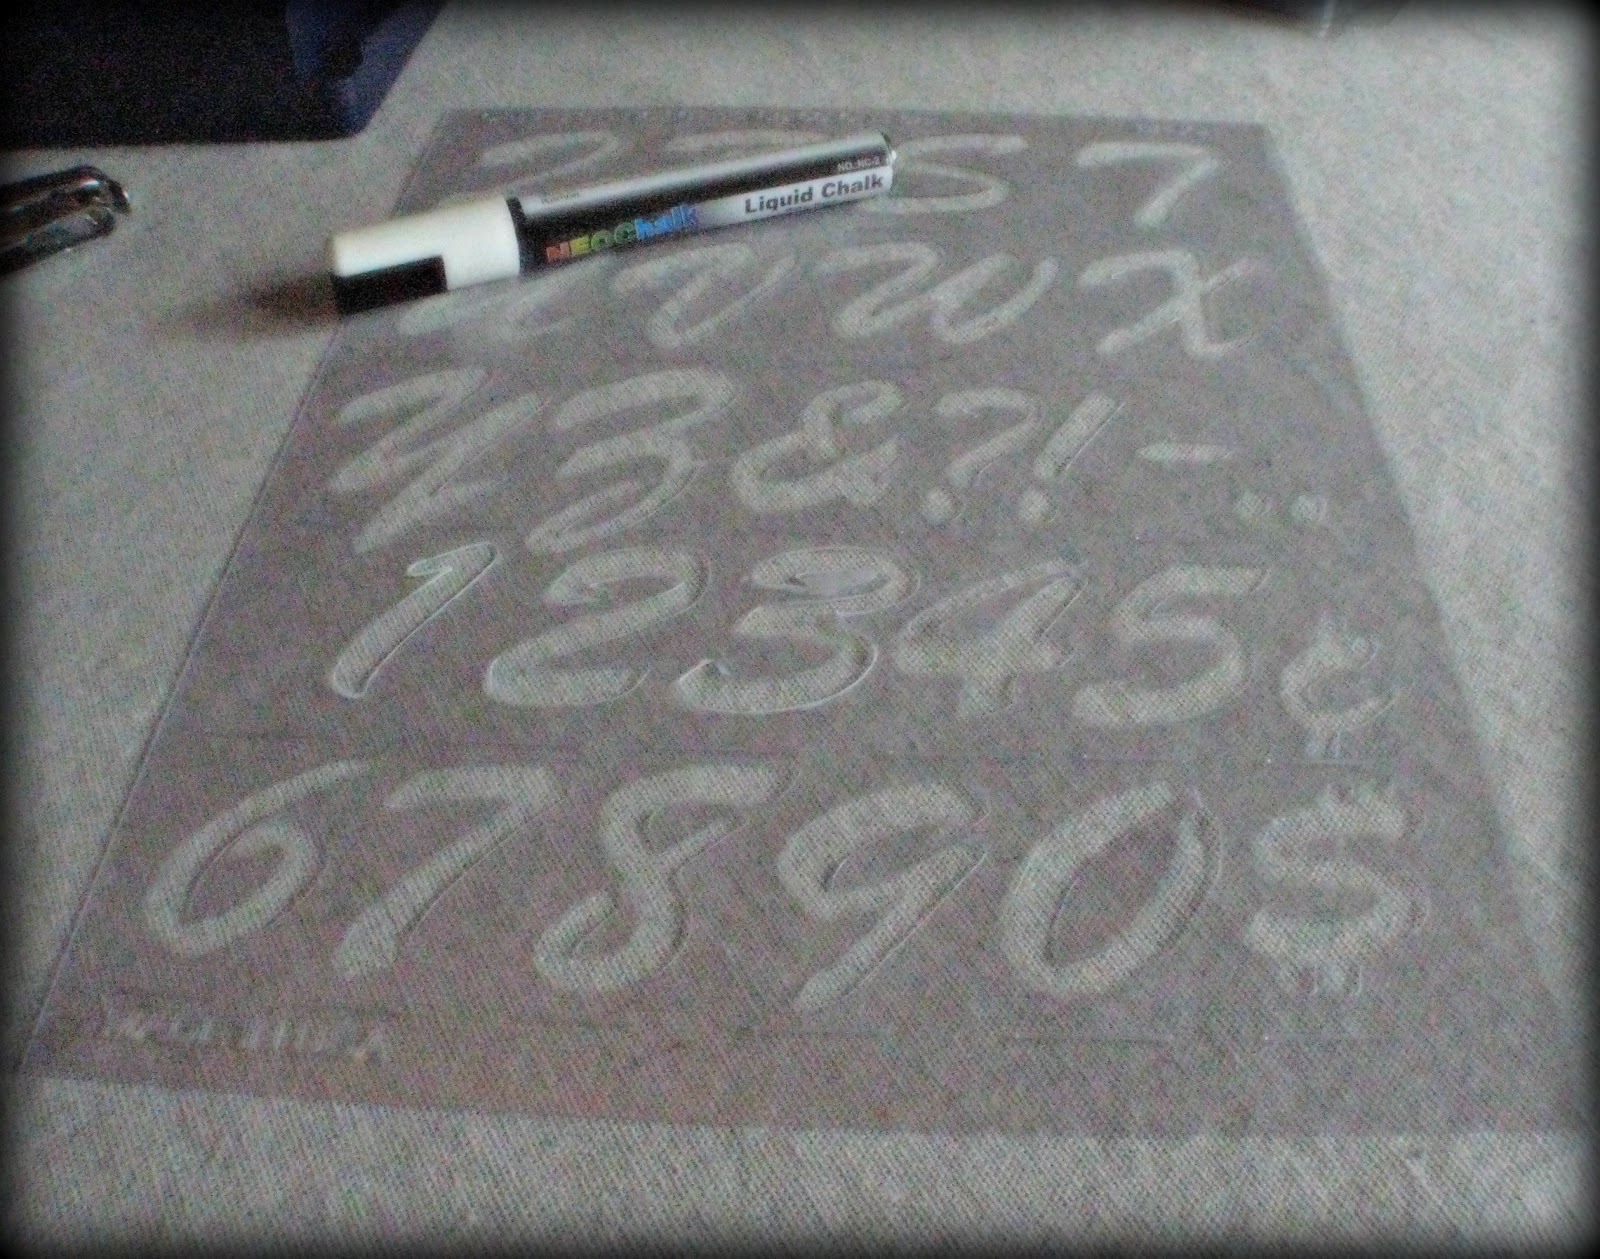
- Number stencils (optional)
- Jute twine or whatever you want to use to tie your tags to your baskets
And here are the directions:
Cut your file folder to the size of a piece of paper
Cut your contact paper's length slightly longer than the length of your file folder so you'll have a little room for error.
Remove the backing to the contact paper, place your folder to one side and fold in half. You can reposition it if you have any wrinkles. You are more or less laminating your folder with the contact paper.

Smooth out the wrinkles with a plastic card.
Cut out your tag template and trace your shape onto the chalkboard paper with a pencil. You can barely see the markings of where I traced out eight tags below. Don't forget to mark your hole placement. I had to make my holes slightly lower so I would have room for the hole reinforcement stickers.
Cut out your tag template and trace your shape onto the chalkboard paper with a pencil. You can barely see the markings of where I traced out eight tags below. Don't forget to mark your hole placement. I had to make my holes slightly lower so I would have room for the hole reinforcement stickers.

Cut your tags and place your hole reinforcement stickers.

Rub the tags with real chalk and then wipe it off to "prime" your tags. If you forget to do this, you will have "ghosting" of your chalk pen or real chalk.
You can use a stencil for the numbers. This was pretty easy with the chalk pen because it is similar to a paint pen. If you mess up, wipe it off with a damp paper towel, "prime" it again, and start over.
You can use a stencil for the numbers. This was pretty easy with the chalk pen because it is similar to a paint pen. If you mess up, wipe it off with a damp paper towel, "prime" it again, and start over.
I think they turned out pretty cute! I am going to use one as a gift tag for the burlap-covered galvanized bin that I am making tomorrow. Come back later this week to see the tutorial!


Excellent! I can't wait to try this. Thank you for posting and for including links to buy the supplies - very helpful!
ReplyDeleteYou're welcome! I'm glad I could help!
DeleteI wish I was this organized. Did not inherit the organizing gene. Love the baskets.
ReplyDeleteSimple and to the point enhancing my knowledge a lot..
ReplyDelete