Restoration Hardware...oh, how I adore thee. You are so rugged, yet refined.
You showed up on my door step again the other day. As I gazed into the pages of your catalog and admired your industrial awesomeness, I was once again reminded that you're so out of my league. I am but a poor girl from the wrong side of the tracks. I couldn't help but be saddened by the fact that you could never be mine. But, then I remembered the words of Barney Stinson...
 |
| Source |
Ok, enough with the sappy love story.
I do love when the Restoration Hardware catalogs show up on my door step. Well, actually,
way out here in the middle of nowhere, it's way at the end of our driveway in the mailbox. What I don't love is that I can't afford to buy anything. I knew that with a little paint, inspiration, and determination I could transform the old Ikea PS cabinet that I already had out in the storage building into something that looked a little more industrial chic.
way out here in the middle of nowhere, it's way at the end of our driveway in the mailbox. What I don't love is that I can't afford to buy anything. I knew that with a little paint, inspiration, and determination I could transform the old Ikea PS cabinet that I already had out in the storage building into something that looked a little more industrial chic.
My inspiration came from the Vintage Industrial Steel Cabinet from Restoration Hardware.
 | |||||
| Vintage Industrial Cabinet from Restoration Hardware Baby and Child |
They describe their vintage steel cabinet as having an, "iron patina finish (that) replicates the look of age". I decided to replicate the finish along with the rivet details with supplies I already had.
This project was done on a gray cabinet. If the piece of furniture that you are working on is not gray, you will need to paint it first. A gray primer spray paint is very similar to color of this cabinet.
This is the before:

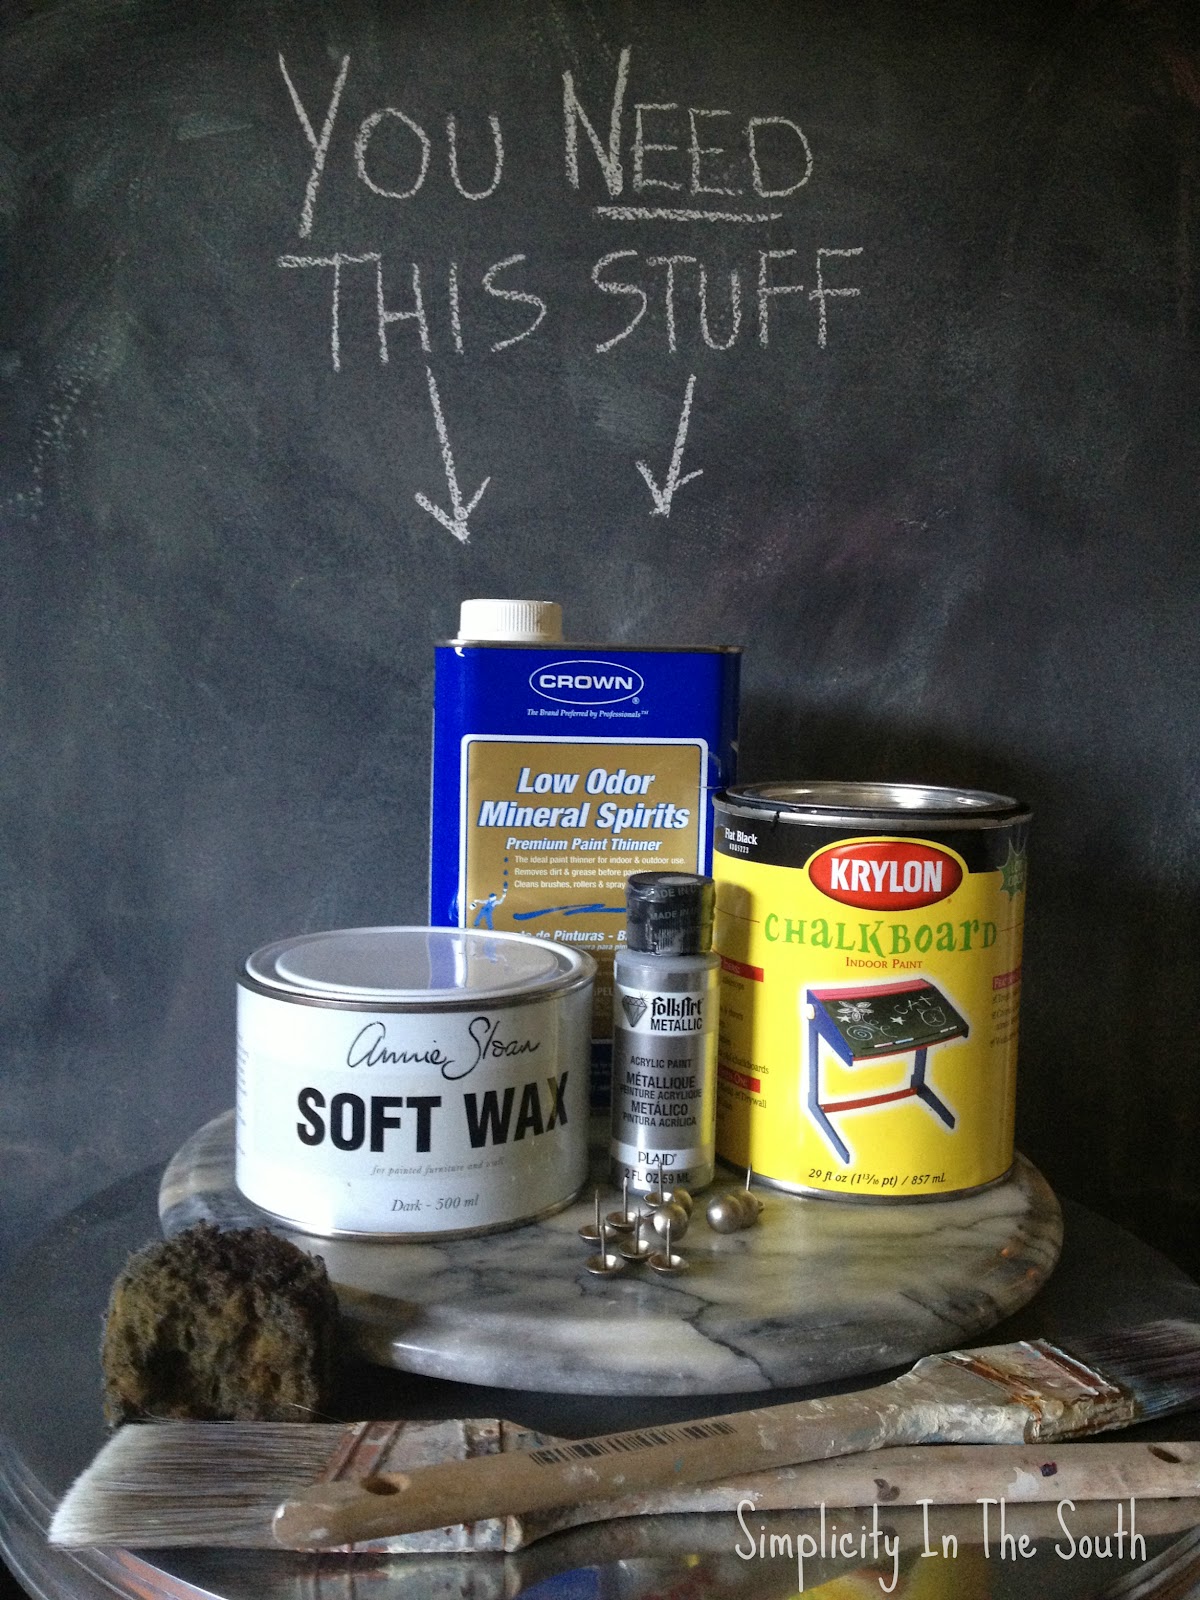
These are the supplies that you will need:
Pictured: Chalkboard paint, silver craft paint in "Gunmetal", Annie Sloan Soft Dark Wax, Mineral Spirits, paint sponge, 2 paint brushes.
Not pictured: 220 grit sand paper, rags and "Better Than Cheesecloth" Buffing towels.
I use an old shower curtain (instead of a drop cloth) to protect my floors.
In order to keep this post from being too long winded, I will do a separate post on how I made the faux rivet detail.
Update: The tutorial for the faux rivets is here.
**There may seem to be a lot of steps, but this paint treatment is just a matter of sanding, dry brushing the paint on and then wiping it off. **
Update: The tutorial for the faux rivets is here.
**There may seem to be a lot of steps, but this paint treatment is just a matter of sanding, dry brushing the paint on and then wiping it off. **
Steps:
Sand your piece of furniture with the 220 grit sandpaper till it's no longer shiny, even when you wipe off the dust.Wipe it down with vinegar. These two steps will prep your furniture for the paint and give your paint something to grab onto.
Lightly dip your brush into the chalkboard paint and dab most of it off onto a paper plate.
"Dry brush" the paint lightly on your surface.
As soon as you finish your first section, wipe off the paint with a dry rag.
The sanded surface will catch most of the chalkboard paint.
Ignore the faux rivets in this picture. I was trying to decide if I liked them.

It looks messy, but it gets better. The good thing about this paint project is that it doesn't have to look perfect.
After you have done this with the entire cabinet, you want to apply the silver craft paint.Put a couple of tablespoons of the Gunmetal silver craft paint onto a paper plate and add about a half teaspoon of water to thin it out.
Take your paint sponge and dip it into the silver paint and dab most of it off onto your paper plate. This is also a "dry brushing" technique.
Lightly streak this paint onto the surface in one direction. If you get too much on, just wipe it off in one direction.

I let this dry for about 2 hours.
Now it's time for the magic to begin!
Take a scoop of the dark wax and put it on a paper plate. Blend in a small amount of mineral spirits, just enough to thin it out.
Take one of your paint brushes and dip just the tip of the bristles into the wax and dab most of it off onto the paper plate.
Lightly drag the brush in one direction over your surface. This will prevent you from getting too much wax on at one time.
Now, take your clean paint brush and buff in the wax in a circular motion. Don't let your wax dry too long before you get to the buffing step.
Let this dry for 5 minutes.
Take your "Better Than Cheesecloth" Buffing towel (I bought mine at the same store that I bought my Annie Sloan Dark Soft Wax) and start buffing out the wax so the surface has a nice, thin layer.
The dark wax is what really gives the piece a nice patina. It also protects all of your hard work.
*If you don't want to invest the money in the Annie Sloan Dark Wax, you can try using a diluted dark umber craft paint. You will have to still have to protect your finish with 2 coats of polyurethane.**
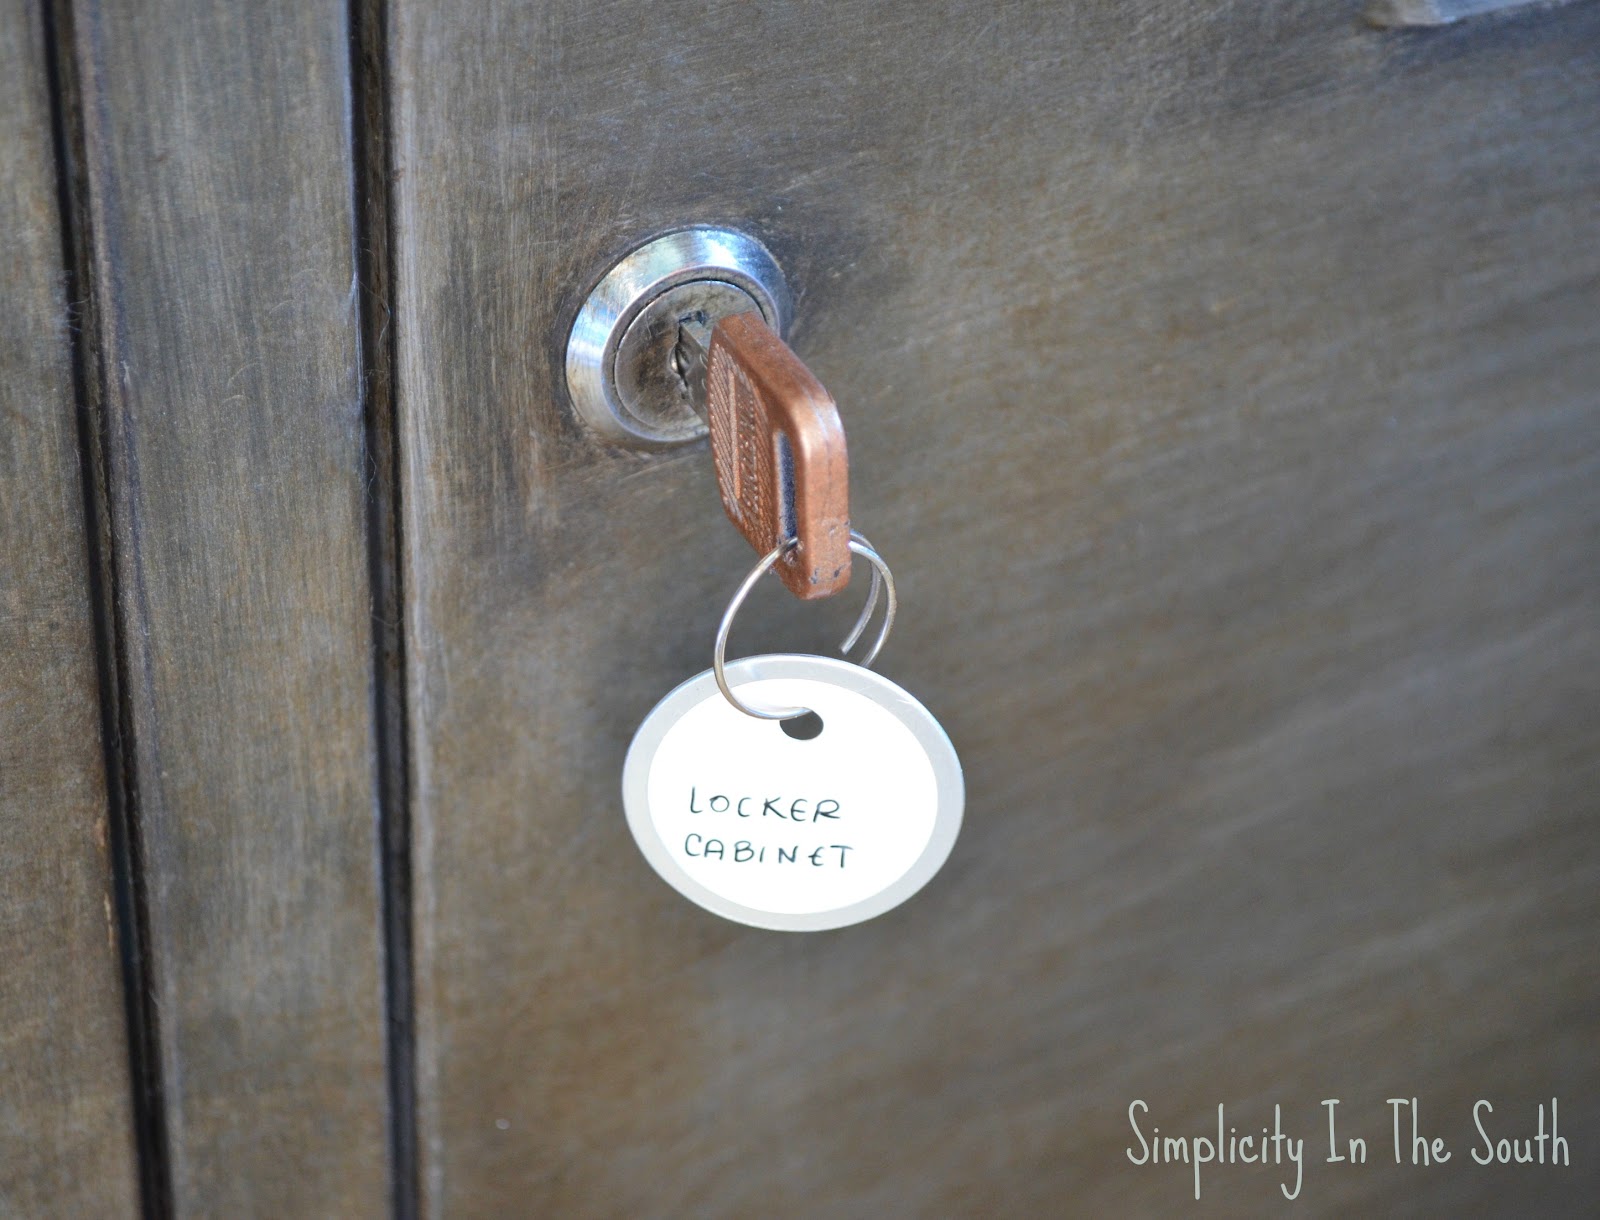
Even the key got a makeover with a little bit of copper spray paint.
I let the first coat of wax dry about 30 minutes before applying the second coat.

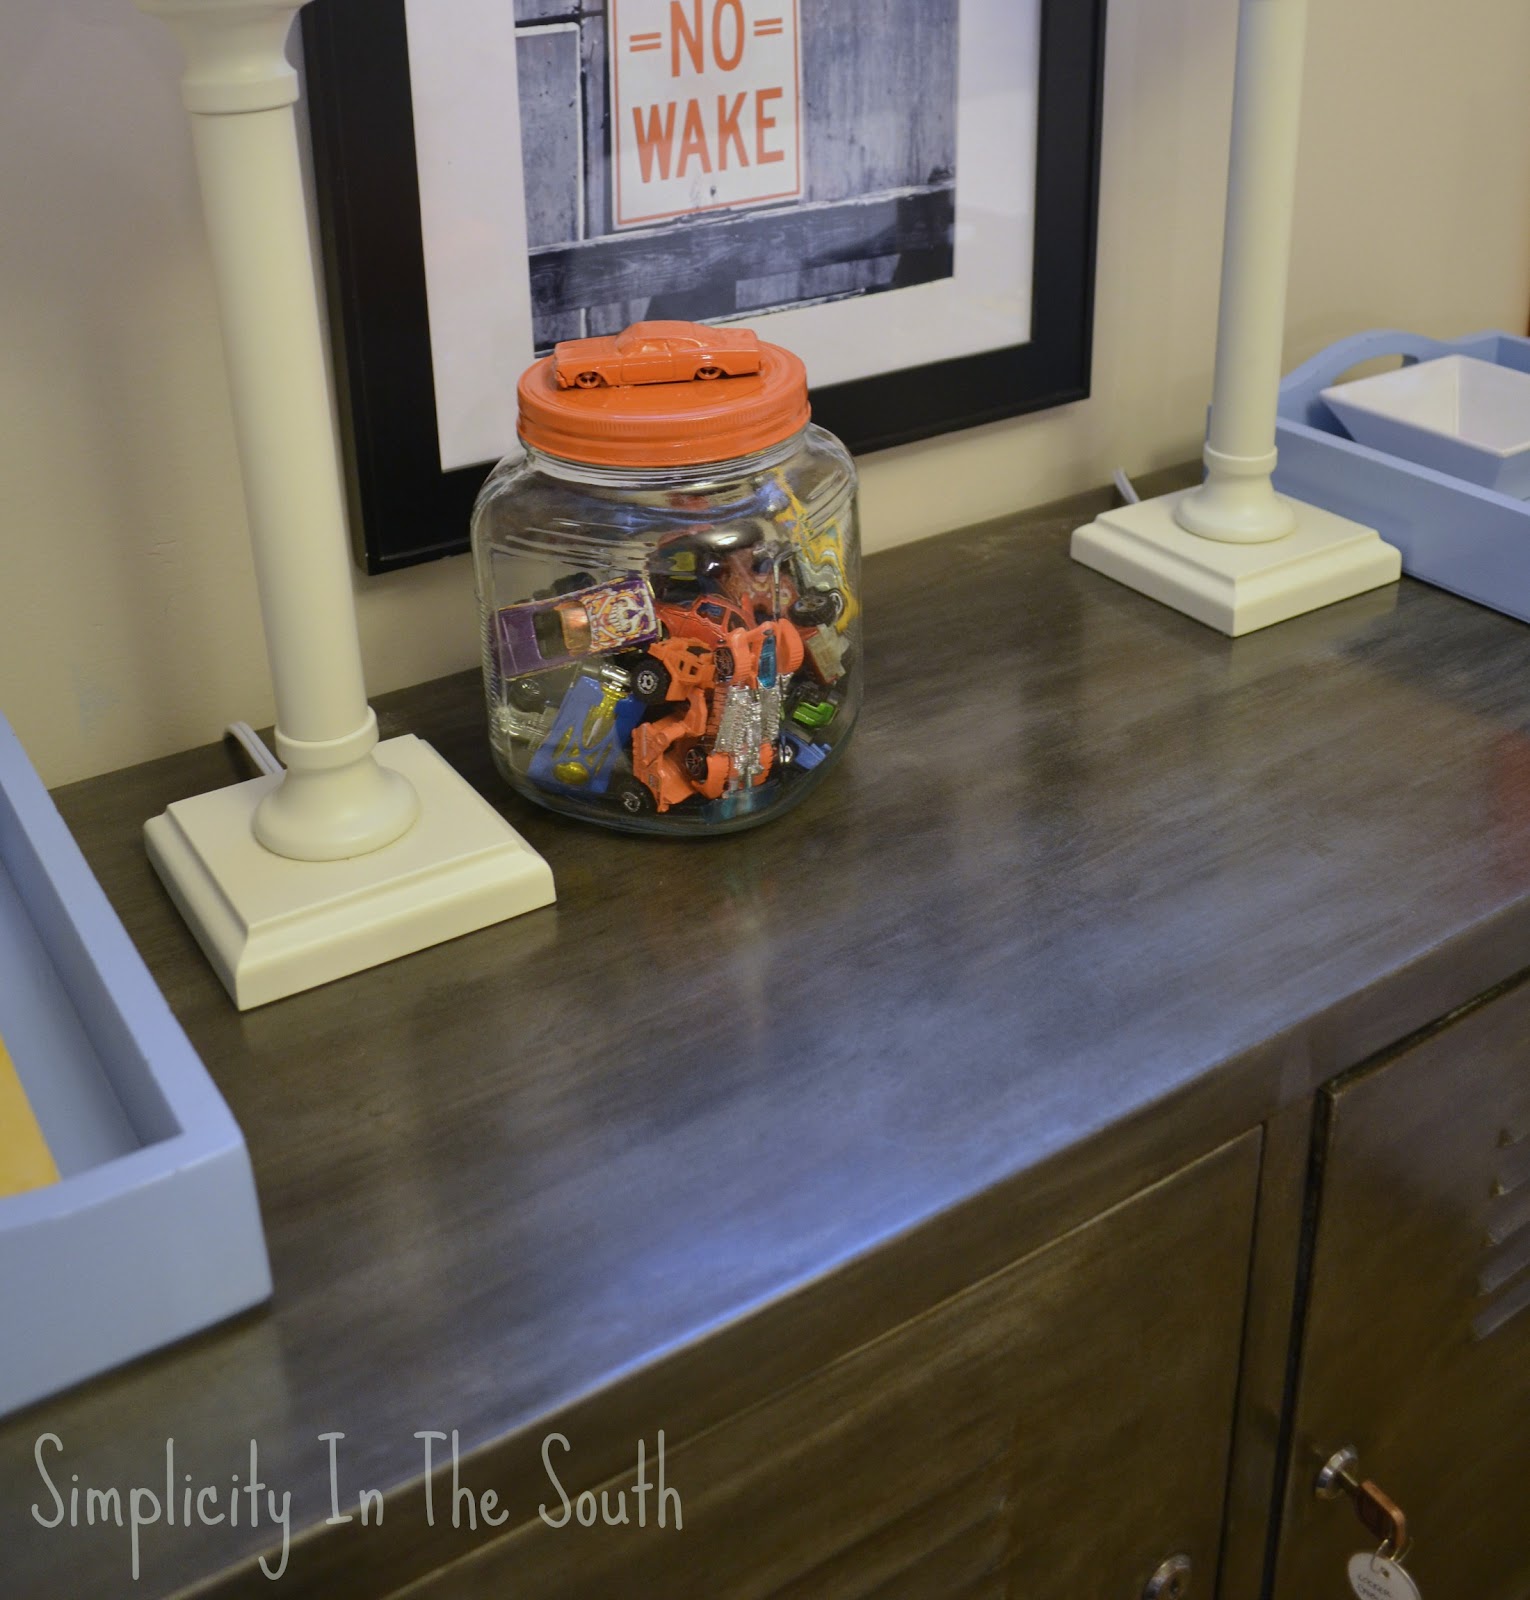
The 2nd coat of wax also gave the cabinet a really nice sheen.
I think he is quite handsome, don't you think?


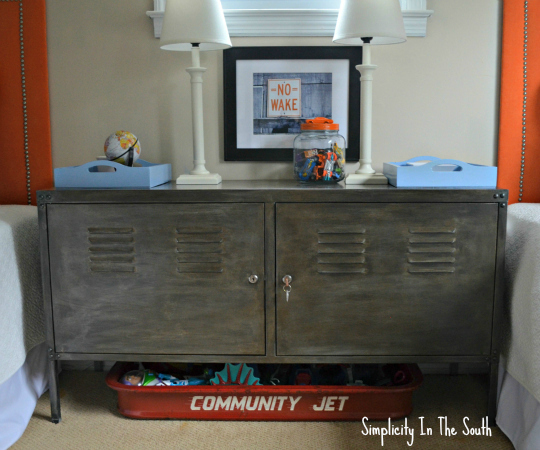

To see the rest of the boys' bedroom, click here.
Have you recently rescued a neglected or orphaned piece of furniture lately?
Leave me a comment. I'd love to hear about it.!
I'm so flattered that this project was featured @:

I'm so flattered that this project was featured @:


 |
| Ikea Hackers |

I'm linking up to:

Absolutely Awesome!!! I love this so much, you did a great job!Jen
ReplyDeleteThat looks awesome! And I love the colors of the room! It looks like a designer did it! Great job!
ReplyDeleteI really am smitten with that cabinet! You did a great job! We recently redid a desk using a combination of homemade chalk paint, ASCP, Annie Sloan dark wax and a homemade beeswax furniture polish.... i am in love with it now! In fact the guys really like it too!
ReplyDeleteThis turned out beautifully! I would love to try this for my son's room.
ReplyDeleteFound you on Common Ground!
Have a good weekend,
Tina
I LOVE how this turned out! And your post made me laugh because I feel the same way about Restoration Hardware. They once sent me a 200+ page catalog and I didn't know what to do with it... so I just drooled all over the pages. So many inspirations, so little money. ;)
ReplyDeleteI am so going to do this! I have a question - I wonder what would happen if I did this to the red one? Thanks!
ReplyDeleteI think if you sanded and primed it with 3 coats of gray primer, that would cover the red. Then, you would need to let the primer have enough time to cure before you do the steps above. I haven't tried it this way, but it seems like it would work just the same.
DeleteThis is such a great idea - you did an awesome job. Congrats on the blog - I've just subscribed. Can't wait to read about your future projects.
ReplyDelete- Julie
Love it, it looks amazing!
ReplyDeleteAmazing transformation! I have loved this Ikea cabinet since it first came out and your faux finish just puts it over the top! I have used black paint and metallic paint together a few times to create faux zinc but I've never tried anything with wax. Great tutorial and congrats on your Best of The Blogospere Centsational Girl feature!
ReplyDeleteGlad that you like the cabinet! Yes, it's a great piece of furniture from Ikea that held up so well over the years, even with 3 boys. And wow...I can't believe that it was featured by Centsational Girl! That just made my week!
DeleteYou did an awesome job on this cabinet! It really looks like it came out of our favorite catalog :) Thanks for the tutorial, I pinned it, too good not to!
ReplyDeleteI recognize that cabinet and love what you have done with it. What would we do without Ikea? I have just started my own blog about my attempt to turn my first rented apartment into a home and I hope you stop by. Your site will provide me with lots of inspiration. thanks
ReplyDeletethis is totally AHHHHMAZING girlfriend!!!
ReplyDeleteyou've got some serious talent and skill!
now i want one!
Woman, you KILLED IT! I love it so hard.
ReplyDeleteI LOVE it! Saw your blog on "Knock Off Decor", and pinned it promptly to look at all your other creations later....
ReplyDeleteLove this!!!!! A little too 'boy' for my family of three daughters :) but I'm wondering what I could use this technique on...
ReplyDeleteLove this, thanks for sharing! My style is very vintage/industrial and I've been eyeing that IKEA locker for a while. I might give it a try!
ReplyDeleteLove the effect that you achieved, have you tried hammer finish to achieve the same result?
ReplyDeleteNo, I haven't tried that, but that gives me some ideas on a future paint project!
DeleteDo you think this would work on wood? What modifications would you recommend? Thanks!
ReplyDeleteHey Kayla! Sorry I didn't reply sooner, but I wanted to try the paint technique on a piece of wood to see how it would turn out. From a distance, it looks very similar. The biggest difference is that the wood grain is noticeable close up. I would sand the piece really smooth, starting with a 220 grit sandpaper and finishing with a 400 grit. If you use 2 base coats of Annie Sloan chalk paint (without thinning it), it will fill in some of the wood grain. To mimic the look of a steel finish, the base coat should be gray. Once the paint dries 24 hours, sand it smooth with the fine grit paper. The rest of the painting process should be the same as what I did. I've also seen some really good tutorials on how to do a faux zinc finish that is often used on wooden furniture. It looks very similar to what I did except it doesn't have the dark wax to "age" the piece of furniture. I hope my (extra-long) reply helps!
DeleteI love the look. . .I too drool all over the RH catalog. . .but alas can't afford all the awesomeness that is found on the pages thereof. You did an amazing job on your project, I say save your $$$$ because you are very talented girl.
ReplyDeleteLooks great!
I like the style though I think it only suits certain rooms. I'd love to have a room i could place this in!
ReplyDeleteI have to admit, I’m deeply impressed to see you acquired a cabinet made of steel. Quite a choice! You’ll never regret having it in your room because it does not deteriorate as time goes by. It does not get or look old, and most importantly, it does not get all dirty and rusty with proper maintenance. Anyway, aren’t you planning on painting it?
ReplyDeleteCarl Patten
this is amazing! I hope it is fool proof because I am thinking of doing this myself!
ReplyDeleteWondering if a sample size of the wax is sufficient for this project? Thanks so much.
ReplyDeleteNew fan here...I LOVE this look. Such a great tutorial that I can't wait to use (maybe on some thrifted filing cabinets topped with reclaimed wood to make a desk?) Check out my blog for some salvaged furniture projects including my latest, a sweet antique farmhouse style dresser! -TwinMom
ReplyDeleteThank you so much for this! I was lucky enough to get the RH Mora Metal Clock but The paint finish has started to chip after multiple moves. This tutorial is amazing and will let me be able to fix the paint job on my
ReplyDelete